5 Easy Steps To Ferment Chicken Feed

There are many advantages to fermenting your chickens’ feed, and it only takes up to 2 minutes or less per day of your time. Why not try it and cut your feed cost, keep healthier chickens and get higher-quality eggs? We’ll explain the process in five easy steps so everyone can try it!
First, we’ll talk about the benefits of fermented chicken feed and what happens during the process.
If you want to skip the nitty-gritty details on how and why fermenting chicken feed, go directly to our ‘5 Easy Steps to Ferment Chicken feed’.
What is ‘fermentation’?
Fermentation is a fascinating process that preserves and enhances food. It involves covering a substance with water, so an organic process occurs with beneficial bacteria (lactobacillus) interacting with the feed. These bacteria are found in any natural environment, also in chicken feed, and by fermenting, the bacteria convert starch and sugar into lactic acid bacteria.
We don’t want to give you a reading headache, so we’ll keep it short and straightforward. The lactic acid bacteria encourage the formation of healthy yeasts and natural probiotics and lowers pH. This process is also used in making yogurt, kefir, or sourdough bread. You’ll add beneficial probiotics to their diet by feeding your flock fermented chicken feed.
Benefits of fermenting Chicken feed
There are many advantages to feeding your chickens fermented feed, although it’s not necessary to provide it daily. Let’s see the pros of fermenting chicken feed:
- Easy digestible
- Many healthy probiotics
- Better egg quality
- Lower food cost
Giving your chickens fermented feed will add many beneficial nutrients to their menu. This leads to healthy and happy chickens and higher egg quality. On top of that, you’ll need less fermented feed to give to your chickens than regular feed, cutting the feed bill for you. Sounds good, right? Let’s get started!
5 easy steps to ferment chicken feed
- Fill a jar with chicken feed
- Add filtered tap water or rainwater
- Let it ferment
- Stir (& repeat step 3)
- Drain and feed
1 . Fill a jar with chicken feed
That’s all? Yes, that’s all!
You can use any chicken feed, mash, pellets, crumble, or whole grain. So try the one you have at home; if you are not satisfied, you can always switch to something else later. Experiment: You can use corn, oats, and seeds instead of commercial chicken feed.
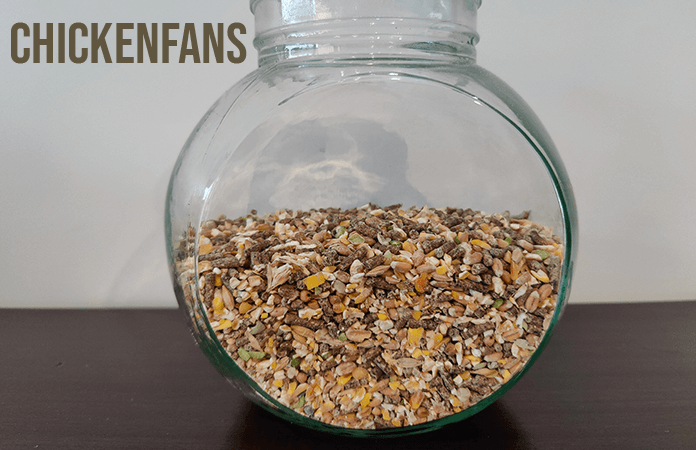
In our example, we use a mix of whole and crushed grains and pellets, but you can use anything you have. Pellets and mash can become mushier as they absorb more water than whole grains. Crushed and whole grains won’t expand as much and will keep most of their texture. It’s a matter of preference, not only for you but for your chickens too!
Fill a glass jar with the amount of feed you give your hens for two days’ worth, but make sure there is still room left for the feed to expand. Don’t fill the jar over 70% with feed.
2. Add filtered tap water or rainwater
The next step is to add water to the chicken feed. The only important thing to remember is to use water without (or with very little) chlorine, nor can you use hard water. Only use filtered tap water, boiled water (only used after cooling), bottled water, or rainwater.
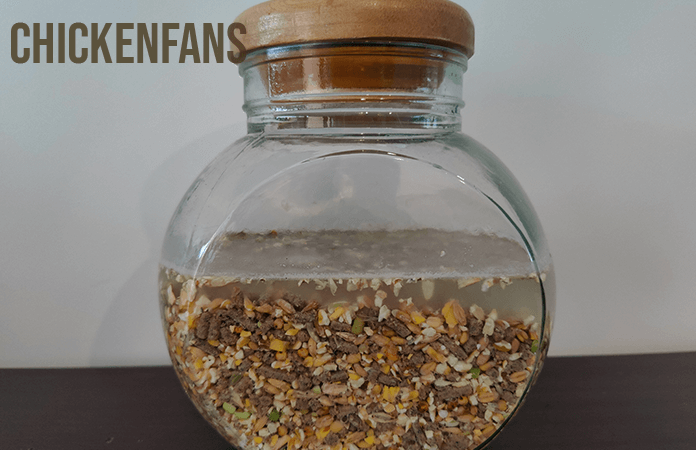
Ensure the feed is fully submerged, and check on the feed after an hour to check if it’s still underwater. Depending on the type of feed you’ve used, the more or less it’ll expand. Your chicken feed should be submerged at all times. Add some extra water if necessary.
3. Let it ferment
Place a lid on the jar; don’t screw it on, but place it loosely on top of it. The jar does not need to be airtight.
Now, you don’t have to do anything other than wait for the magic to happen. Leave the feed for three to four days, and place it somewhere in the house at room temperature. Don’t place it directly into the sunlight, but in a darker area of the house; it’s not necessary to put the feed in a room without any daylight. Just keep it where it’s most convenient for you, and don’t forget about it because you need to give the fermenting batch a daily stir!
4. Stir (& repeat step 3)
Give the batch a good stir every day, at least once a day, and add more water if needed. Always remember the feed has to stay submerged the entire time. After some time, you’ll see tiny bubbles popping up at the water’s surface, meaning the fermenting process has begun.
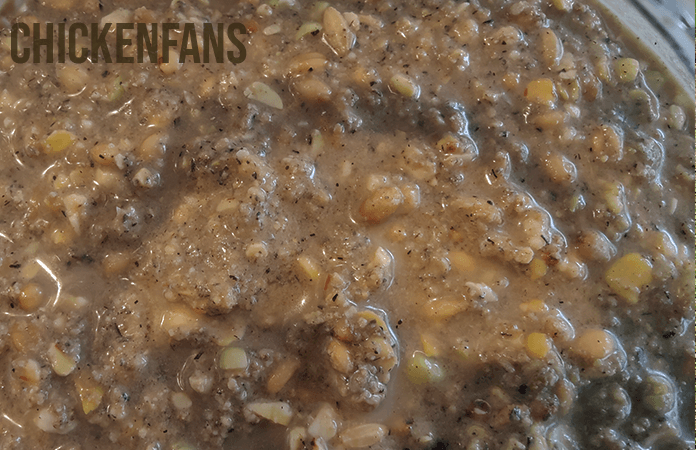
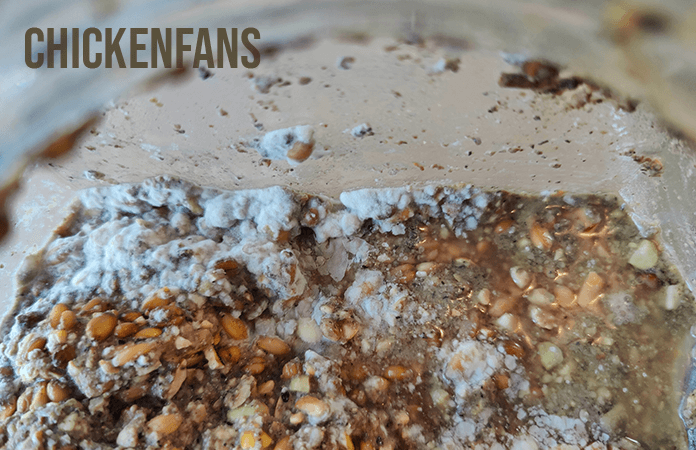
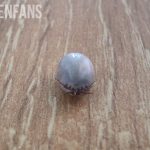
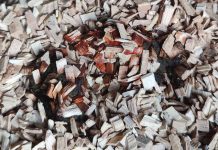
Here’s what a batch of fermenting feed looks like after 1,5 days, with tiny bubbles popping up:
If the water and water surface don’t look appetizing, don’t worry, it’s normal. The foam and cloudiness of the water are indications the bacteria are doing their work. As said before, you should leave the feed for at least three to four days. In the meantime, stir it daily and let it ferment.
Smell your batch from time to time. As long as your feed smells sourish, you’re good to continue. Fermenting feed may not smell foul; if it smells rotten or yeasty, you’ll be best to start over again.
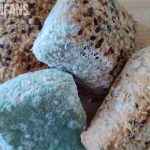
If you see mold in the feed, it wasn’t completely covered with water the entire time and has begun to rot. In that case, you can eighter start over or remove the top layer.
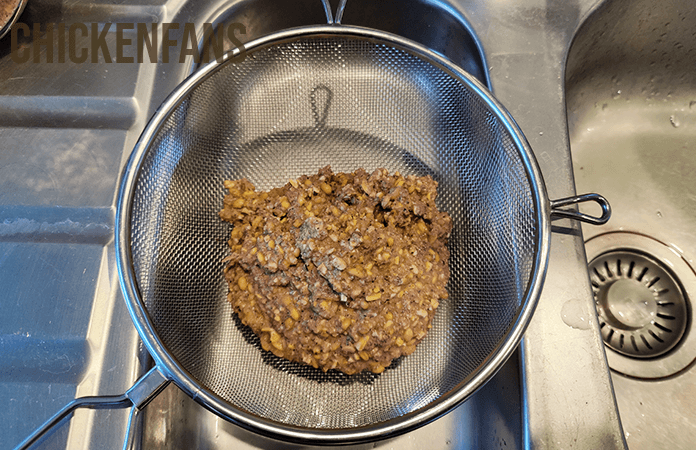
5. Drain and feed
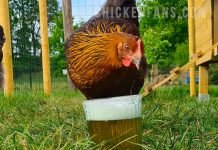
After three to four days, your fermented feed is ready to feed your flock! Drain the water, but don’t throw it away, as it can be used to kickstart your next batch. It’ll go easier and faster when using the ‘old’ water where the bacteria are already present.
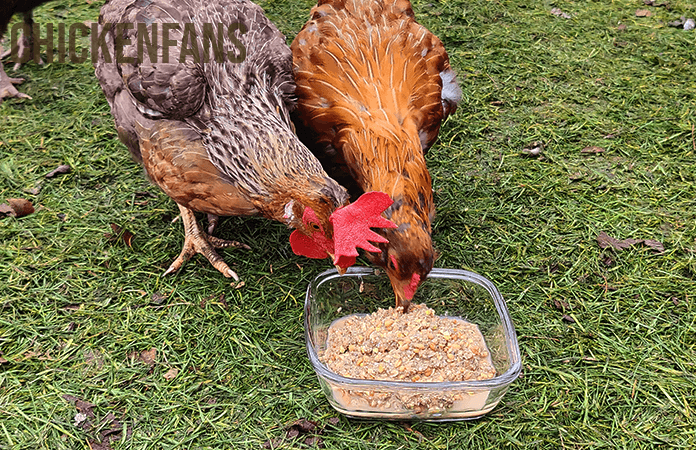
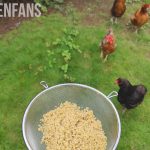
Now it’s time to let your hens try out their new feed! Scoop some feed, not too much, in a bowl and present it to your chickens. After they are done eating, take it away, as you don’t want the feed to rot or get moldy inside the run. Once you get the hang of it, you’ll know the amount of fermented feed to give your chickens without throwing anything away.
It isn’t necessary to feed your chickens fermented feed daily. Moderation is key; switch to regular feed every other day, and try to serve them a varied diet of commercial feed, fermented feed, and vegetables. But do so occasionally; they’ll love it!
Summary
Fermenting your chickens’ feed makes adding many beneficial nutrients to their menu easy. This leads to healthy and happy chickens and higher egg quality. On top of that, you’ll need less fermented feed to give to your chickens than regular feed, cutting the feed bill for you.
Related article: Sprouting grains for chickens


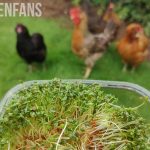


