Brinsea Egg Incubator: Review (2026)

Chicken Fans is reader-supported. When you buy through our links, we may earn a commission. Learn more about our privacy policy and disclaimer.
In our pursuit of finding the best egg incubator, we’ve tested one of Brinsea’s incubators, a well-known brand of incubators. Having personally tested this incubator by hatching chicken eggs, we’re here to review all its pros and cons.
Follow our egg-hatching journey here!
Brinsea is a well-known brand specializing in brooders, incubators, and automatic chicken coop door openers. Currently, they have around 10 to 15 egg incubators on the market, all ranging in price, capacity and features.
We’ve aimed to test many egg incubators around the same price range, with a maximum spending budget of $150 per incubator. For Brinsea, this means we tested their cheapest model, the budget Brinsea Mini II Eco.
The Brinsea incubators are a quality option for those looking for a reliable incubator. However, its higher price and lack of some features may not justify its value compared to competitors in the market.
- Brinsea quality
- Plug & play
- Expensive
- Less pricey models are very basic
- Noisey
Look and Capacity
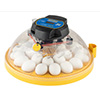
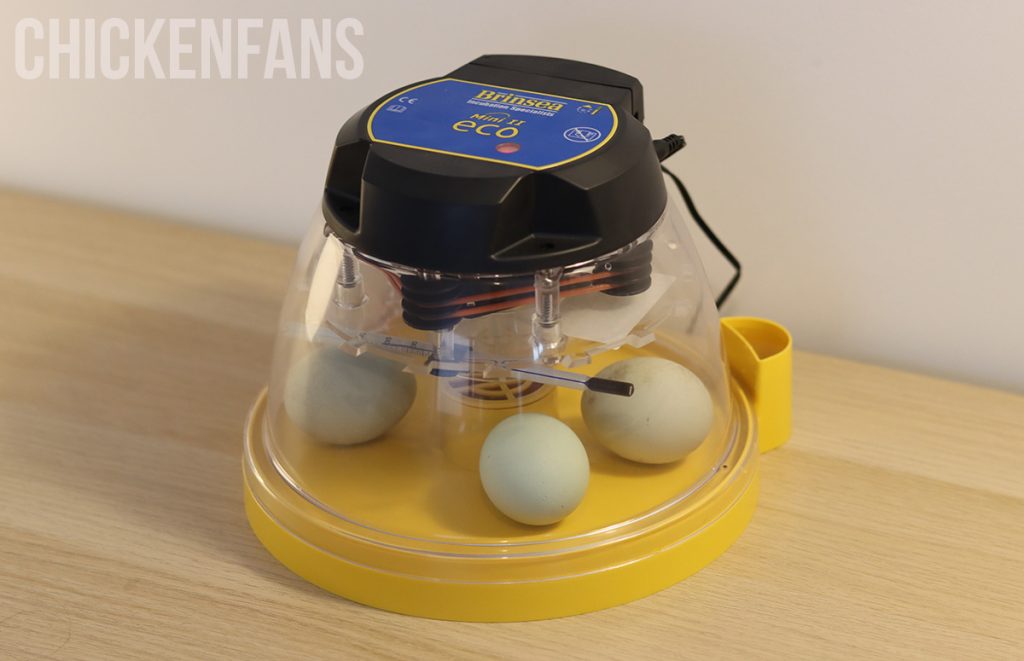
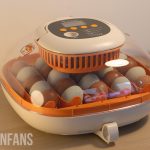
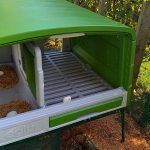
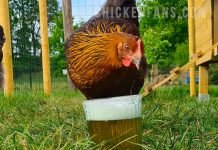
The Brinsea Mini II Eco incubator can hold up to 10 eggs, making it suitable for hobbyists and small-scale breeders due to its compact size.
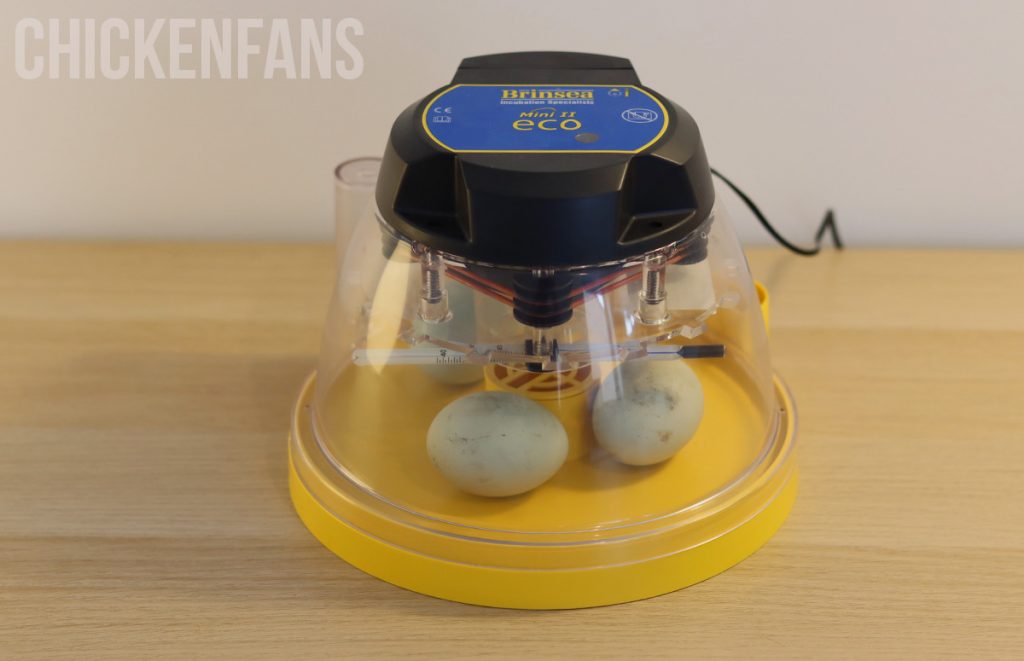
The incubator’s clear top offers great visibility, enabling easy monitoring of the hatching process without disturbing the eggs.
It is Brinsea’s budget and most basic incubator with no additional features such as automatic egg turning, a display, or electronic temperature control.
Added Note:
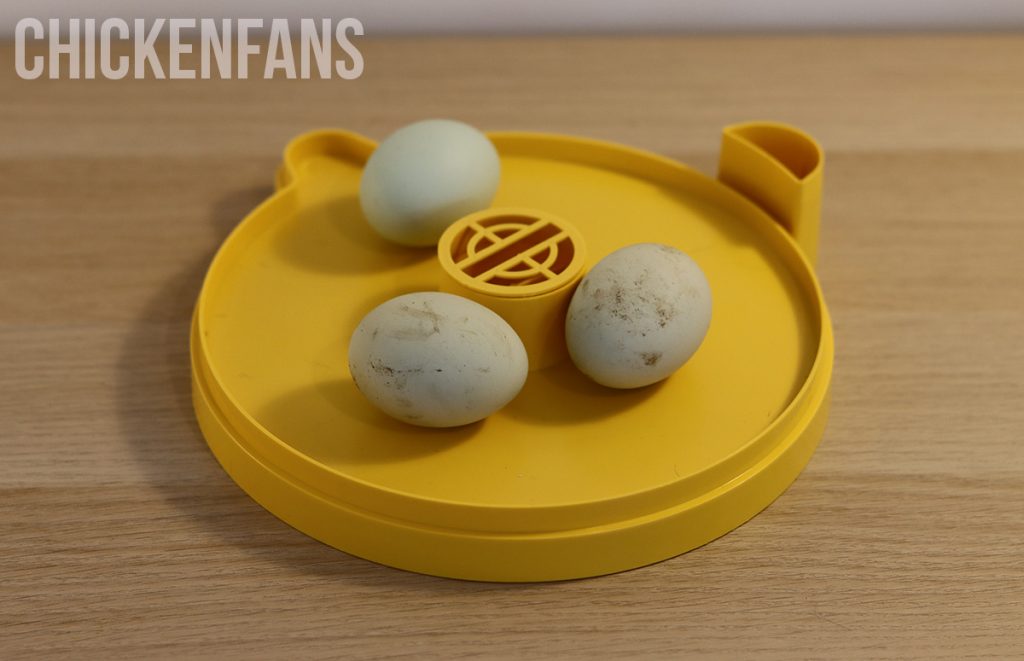
Please remember that, despite being a 10-egg incubator, it can not hold ten normal to large-sized eggs. They DO NOT fit into this mini egg incubator, as you can see in the image below.
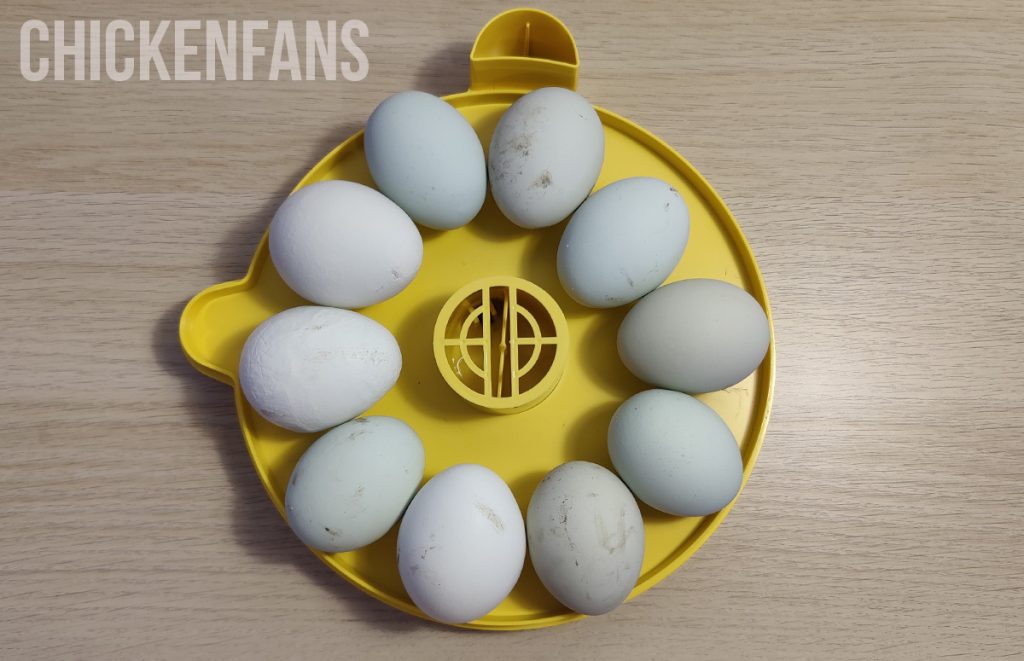
During our hands-on testing, we attempted to fit seven medium-sized eggs and three larger-sized eggs in the incubator, but unfortunately, they could never fit. The eggs protruded over the edge, preventing the clear top from closing properly.
This Brinsea Mini will not suffice if you plan to hatch at least nine to ten normal-sized chicken eggs.
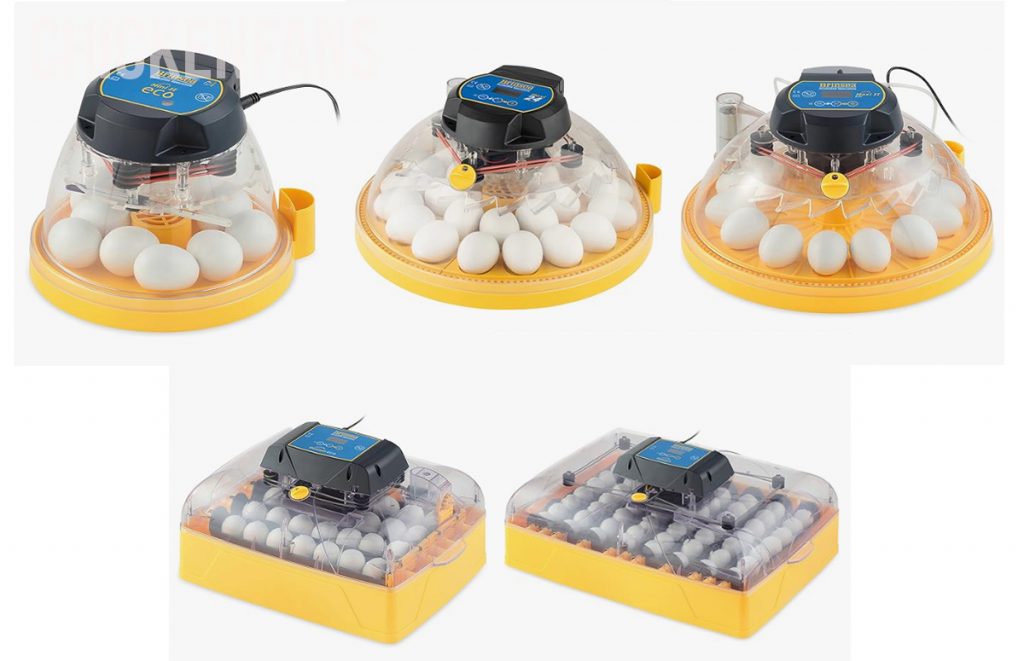
Brinsea Incubator Types
As previously mentioned, our testing focuses on incubators within the same price range, leading us to evaluate the most basic Brinsea model, the Mini II Eco.
However, it’s worth noting that Brinsea offers a large range of incubator types tailored to the needs of various chicken keepers.
Whether you’re starting out or are a seasoned breeder, Brinsea has an incubator designed to meet your requirements. Here’s a brief overview of the different types available.
| Mini II Eco Manual | Suited for 10 eggs |
| Mini II Advance automatic | Suited for 7 eggs |
| Mini II EX fully automatic | Suited for 7 eggs |
| Maxi II Eco Manual | Suited for 30 eggs |
| Maxi 24 Advance automatic | Suited for 24 eggs |
| Maxi 24 EX fully automatic | Suited for 24 eggs |
| Ovation 28 Eco automatic | Suited for 28 eggs |
| Ovation 28 Advance automatic | Suited for 28 eggs |
| Ovation 28 EX fully automatic | Suited for 28 eggs |
| Ovation 56 Eco automatic | Suited for 56 eggs |
| Ovation 56 EX Fully automatic | Suited for 56 eggs |
Overall, Brinsea has small (MINI) incubators (7 to 10 eggs), medium (MAXI) incubators (24 to 30 eggs), and large (Ovation) incubators (up to 56 eggs).
Features
The Brinsea incubators can be purchased in a ‘manual‘, ‘ automatic‘, or ‘fully automatic‘ version, all varying in features and, of course, price.
In this review, we discuss the manual version of the mini incubator, but let’s address, in short, the differences between all varieties.
Manual Incubators
The manual incubators are the most basic. They feature a liquid-in-glass thermometer but no automatic turning system, humidity display, or other options.
Automatic Incubators
The automatic incubators have more features, including a digital temperature display, countdown to hatch day, and programmable automatic egg turning.
Fully Automatic Incubators
The fully automatic incubators feature all the qualities of the automatic incubators but also include a humidity display.
The cheapest incubators cost around $150, while the most expensive ones cost around $500.
Things to Keep in Mind
Embarking on this hatching journey with the Brinsea incubator is an exciting experience, but it comes with a few crucial guidelines. Think of it as setting up a cozy, stable home for your future chicks.
- Keep It Indoors: Ensure your incubator stays inside, where you can control the environment better.
- Stable Conditions: Avoid places with big swings in temperature and humidity to keep things consistent.
- Safe Spot: Place the incubator away from curious pets and small children.
- Off the Floor: The air near the floor is not always fresh due to higher carbon dioxide concentrations.
- Away from Windows: Sunlight and drafts can mess with the temp. Keep it in a spot that’s just right.
- Room Temp Matters: The room should stay, ideally, above 70°F to support the perfect hatching atmosphere.
Before Incubation
It is necessary to test the incubator’s functions before introducing fertilized eggs. Once familiar with its operation, it’s time to prepare the incubator for the eggs.
We’ll cover the essential steps to prepare for incubation next.
Incubation Temperature
The incubator comes pre-set at 99.5°F (37.6°C); there is no need for manual temperature adjustments. After plugging it in, the temperature will gradually increase to the optimal 99.5°F.
It took around 20 minutes for the incubator to reach the correct temperature. You will notice the red LED will change from continuously on to flashing.
Manual adjustment is possible; as detailed in the manual, the default setting of 99.5°F usually suffices, requiring you to simply plug in the unit and let it warm up to the correct temperature.
To adjust the temperature on this manual incubator, you’ll need the ‘temperature adjustment screwdriver’ safely hidden in the back compartment of the machine.
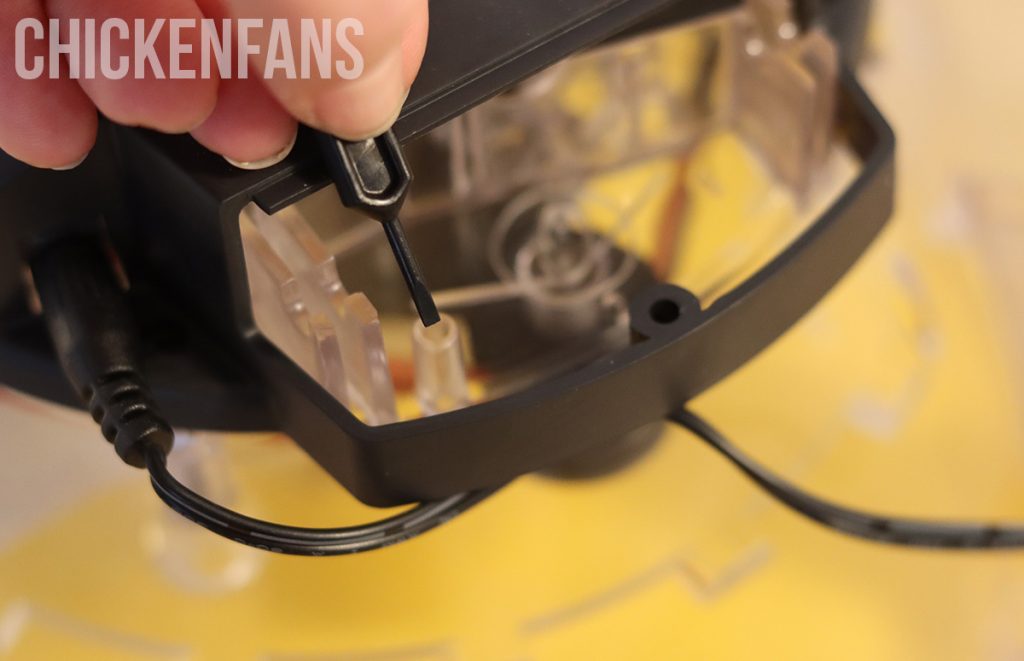
We didn’t find the tiny ‘screwdriver’ at first, but it’s safely stored behind the back panel. You need a real screwdriver to open the panel.
To adjust the temperature, follow the instructions in the manual and always check the temperature before and after adjusting. Allow the incubator to stabilize for an hour before adjusting the temperature settings.
Control Humidity
For the first 17 days of incubation, the humidity should be between 45-55%.
Unfortunately, the ‘manual’ and ‘automatic’ incubators do not have humidity displays, so there is no way to check whether the humidity is correct.
Using a personal hygrometer or simply relying on the product’s correctness is all you can do now.
The humidity can be adjusted by adding water to one or both halves of the water pot. There is an external water fill point so you don’t need to open the incubator to refill the water level.
Incubation in Progress
How Did We Test the Brinsea Incubator?
We have hatched 3 chicken eggs with the Brinsea Incubator.
How exciting!
Day 1 to Day 17
After setting up the incubator and letting it run for at least 24 hours to stabilize, we are ready to place the eggs.
Before incubating, let the eggs sit at room temperature for 6 to 8 hours, pointed end down, possibly in an egg carton, and avoid refrigeration.
The next step is to place the eggs in the base of the incubator.
This type of incubator does not have an automatic egg turner so we’ll have to turn the eggs at least 3 times per day manually.
Keep an Eye on Humidity Levels
Check the water levels of the external fill point regularly and refill when needed. As said before, this type of incubator does not display the humidity level, so following up is important.
It’s best to keep in mind you will need to add more water to the fill point every 3-4 days.
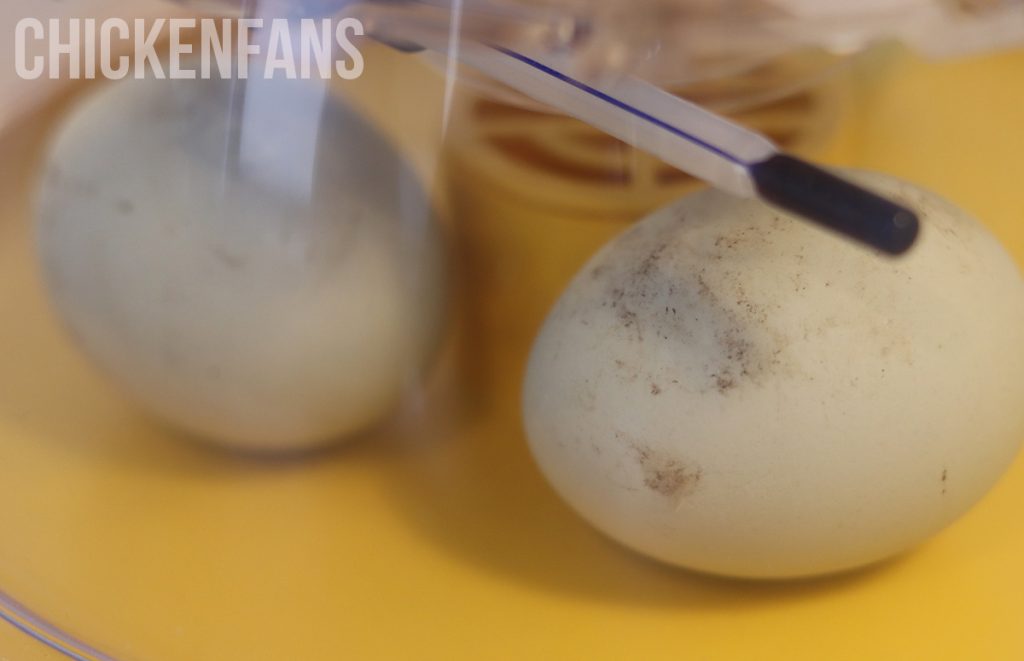
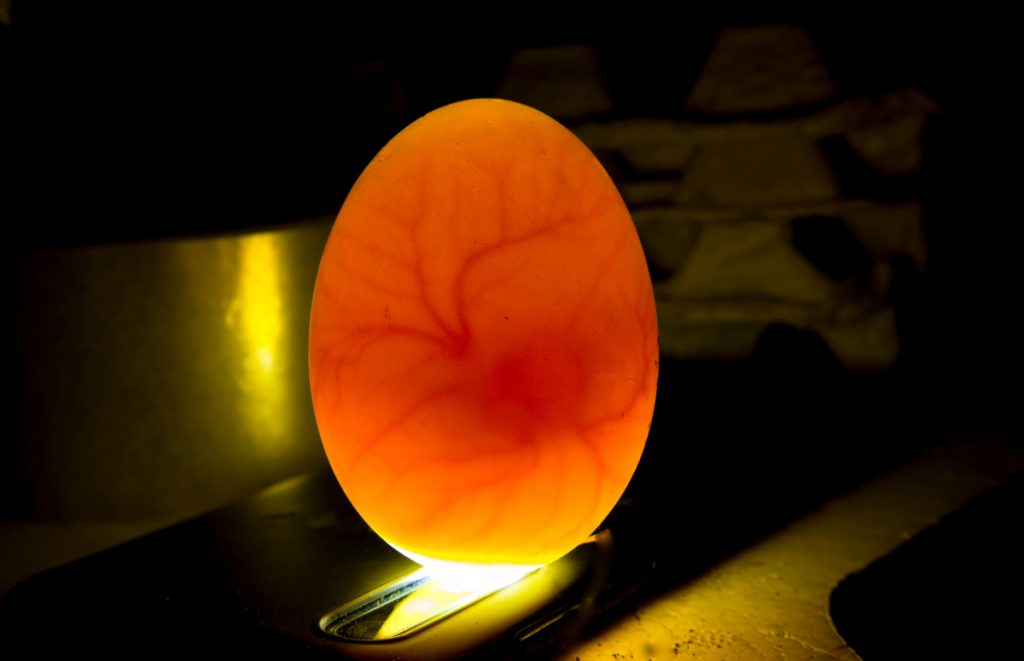
Candling the Eggs
Mark the calendar for days 7 and 14 to candle the eggs. This way, you can check which eggs are fertile and which are not.
Unfortunately, the Brinsea incubators do not have a built-in candler, nor is a separate candler provided.
We used our own candler to check the eggs. You can also use the light on your phone.
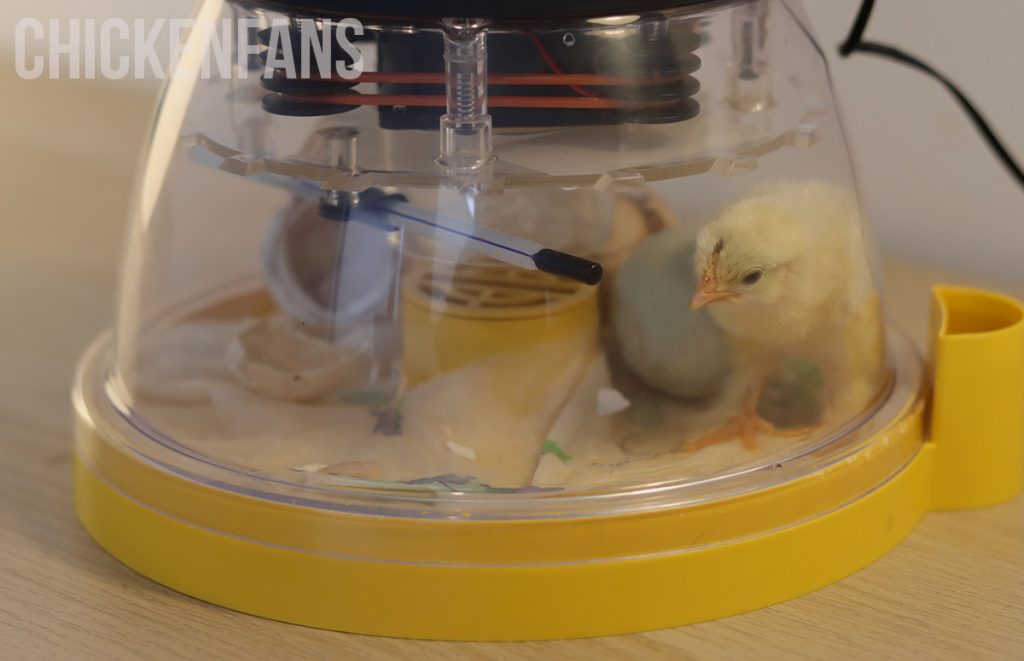
Day 18 to Hatching Day
When the countdown hits day 18 we can stop turning the eggs.
It’s then time to insert a hatching mat to prevent spraddle legs in chicks. A small disc-shaped cardboard hatching mat is included in the purchase, but we decided to use a moist paper towel instead.
The moist paper towel also helps to raise humidity.
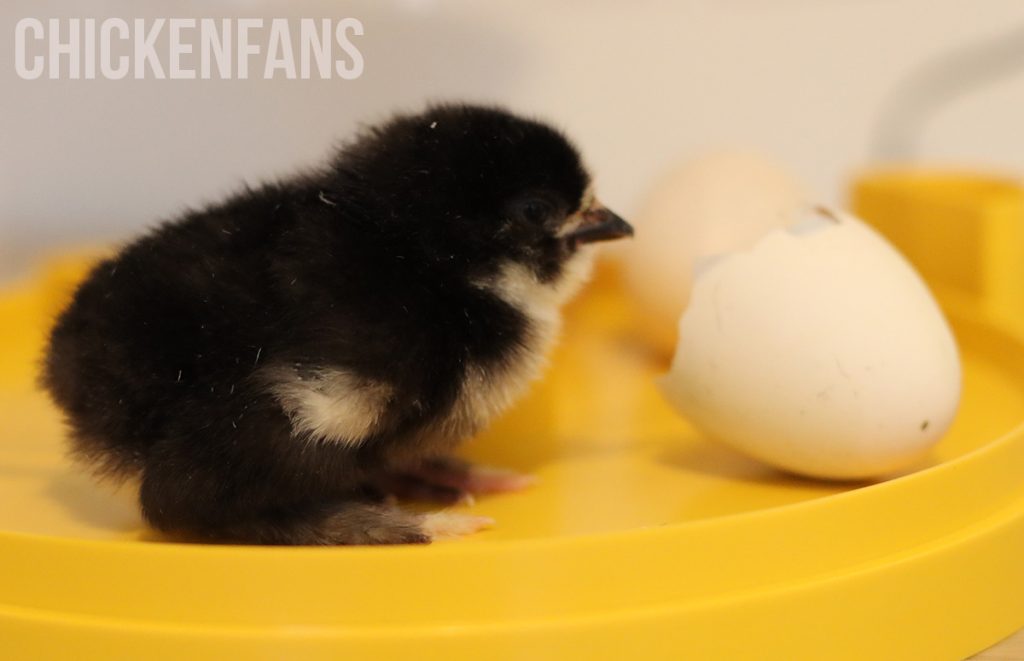
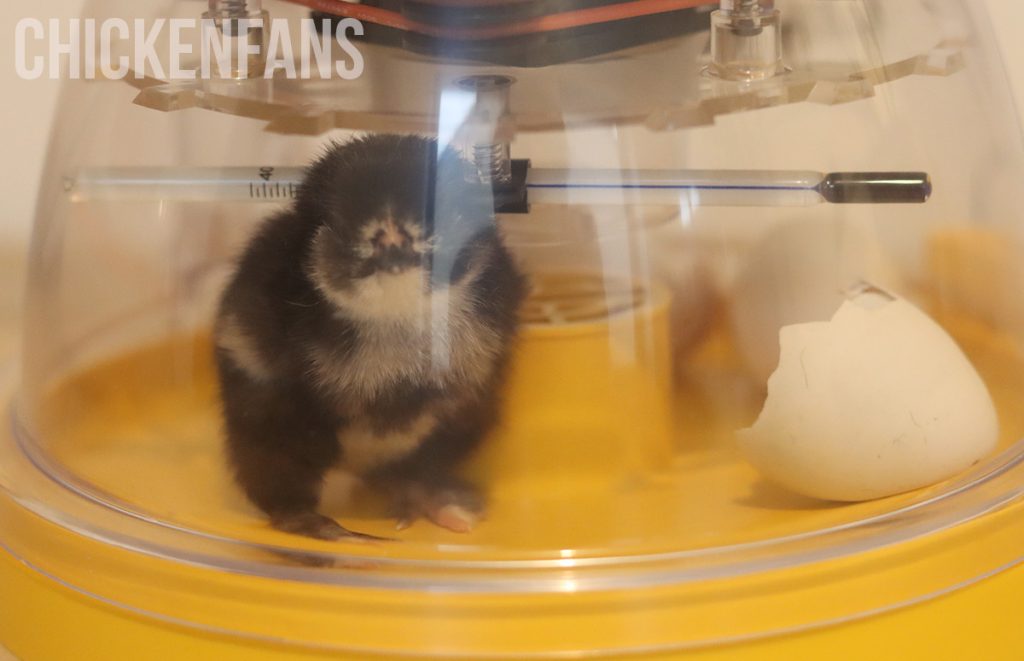
Hatching Day!
All chicks arrived on days 20 and 21 of the incubation process.

After hatching, it’s important to leave the chicks in the incubator for a minimum of 8 to 12 hours so they can fully dry.
The Brinsea incubator is very easy clean afterwards.
Our Experience With the Brinsea Mini Incubator
Brinsea stands out as one of the renowned names for egg incubators. Its years of experience show in the quality of its products.
All our chicks hatched, and we had no major issues during the 21-day incubation period.
However, compared to newer brands, the high price of a Brinsea might not seem worth it anymore.
We were not convinced of this Mini Eco Manual incubator for several reasons despite its high quality.
Let’s talk about some of our findings.
The Eco Mini II costs around $150, which is reasonably priced and considered Brinsea’s budget option. But for this price, there are things to keep in mind:
- No automatic egg-turning system
- No display
- No humidity display
- No candling lamp
- No alarm for temperature fluctuations
- Noisey
If we compare this with, for example, the Chickcozy incubator, which we also tested and is a direct competitor of Brinsea, you get much more of the same high-quality value for the same price.
If you want the same additional features as the Chickcozy on a Brinsea incubator, you will need to spend around $350. This also does not include a built-in candler, which the Chickcozy does have.
This automatically brings us to the following point.
Drawbacks of the Brinsea Incubator
While the Brinsea incubator is high in quality and offers some great features, it has its limitations, like any product.
In our experience with the Brinsea incubator, we’ve encountered a few downsides worth noting.
No Additional Features
There are no additional features included in the ‘manual’ versions of the Brinsea incubators.
For us, following up on humidity levels is key, but this feature is only included in the most expensive models, the ‘fully automatic’.
The ‘manual’ models also don’t include a display, automatic egg turner, or egg candler.
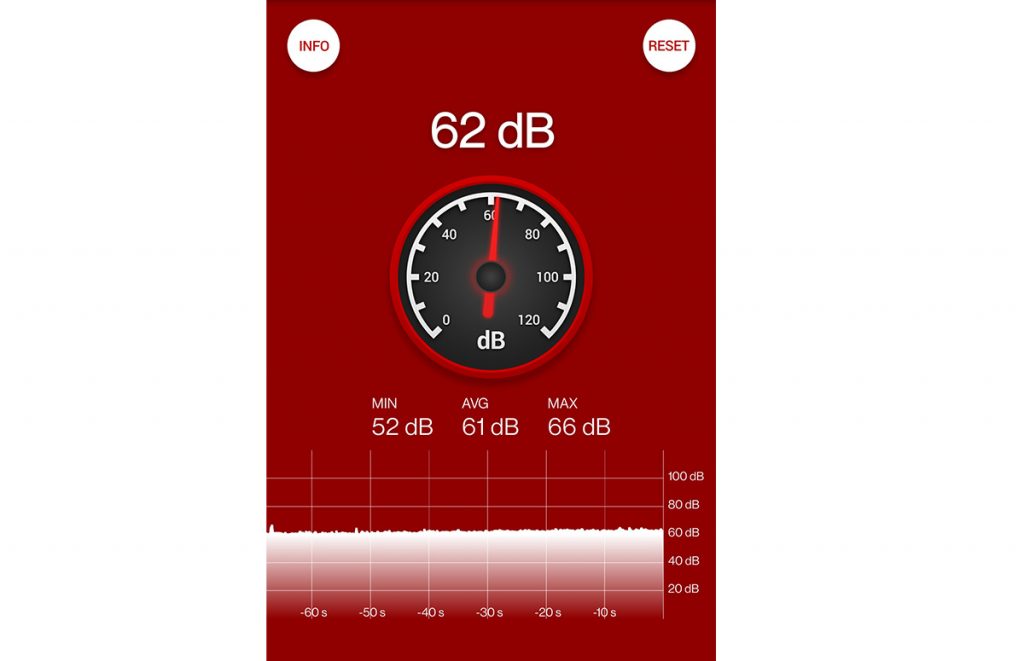
Noise
This Brinsea incubator makes quite some noise. Although all egg incubators make some noise, Brinsea is one of the noisiest we have tried.
The noise level is always around 60 to 65 dB, which is high. We had placed the Brinsea incubator in our office but had to move it because it was too annoying while working.
Price
Brinsea products aren’t cheap, but many consider the higher price worth the high quality. Whether you want to spend your money on a Brinsea incubator or not is up to you, but in the case of the Eco Mini, you’ll be buying a very basic product.
What’s in the Box?
Our Brinsea incubator was delivered in carefully and attractively designed packaging, ensuring it arrived in excellent condition. The incubator itself is extra protected by foam.
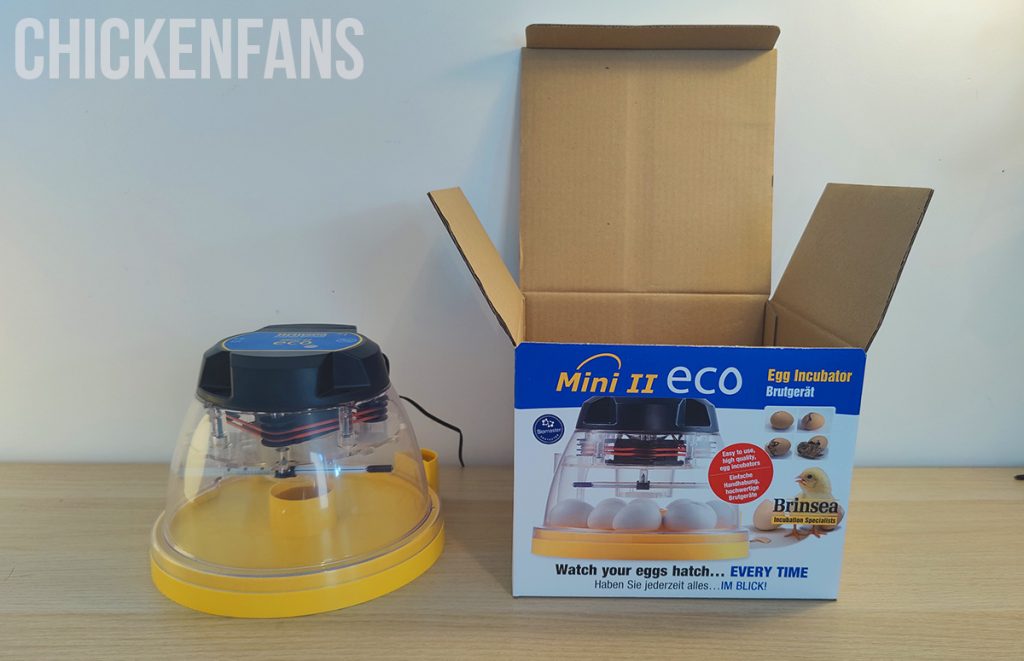
The purchase includes:
- Incubator base and clear top
- Temperature adjustment screwdriver
- Glass thermometer
- Power supply unit
- Cardboard hatching mat
Some incubators also include an egg disc, which is not included in the Mini II Eco.
Summary
The Brinsea Mini II Eco Manual incubator offers quality construction and reliability, which is typical of the brand. However, its high price and lack of features, such as automatic egg turning and alarms for temperature fluctuations, may not justify its value compared to competitors in the market.


