How To Install the ChickenGuard Automatic Chicken Coop Door
An automatic chicken coop door is a dream for every chicken keeper. It opens in the morning and closes when the night falls. ChickenGuard is one of the most well-known brands of automatic chicken coop doors.
They claim their doors are easy to set up, but many still struggle with the installation. We guide you through all the steps and what you need to look for when installing the chicken coop door yourself. When you have everything in place in the chicken coop, an automatic door is the icing on the cake.
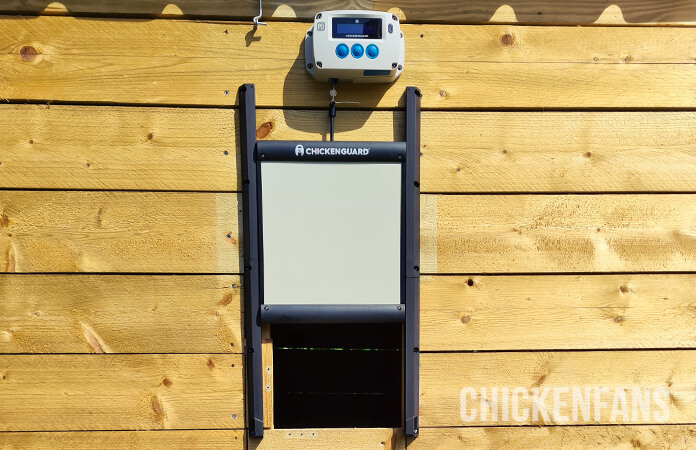
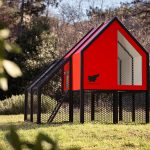
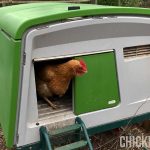
Here is what the end result looks like:
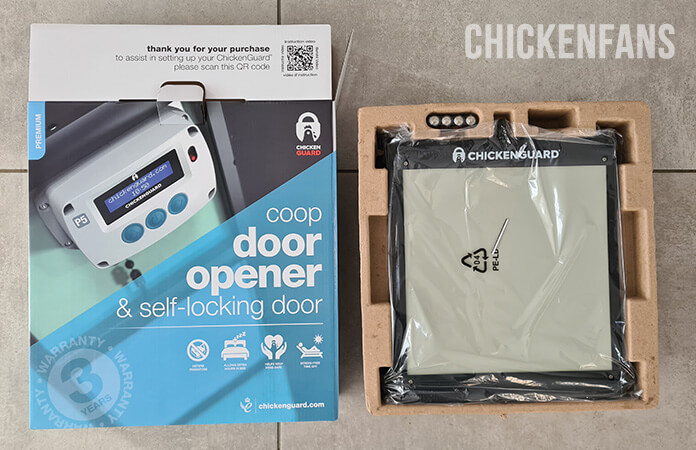
Although ChickenGuard has a lot of products, all of them come in two packages:
- The Chicken Coop Door: the actual door
- The Chicken Coop Door Opener: the motor unit opening and closing the door
First, you install the door; then, you attach the motor. With a strong motor, you can also construct your own door if you are handy. We’ll stick with the default door, that’s light and made from sturdy plastic. The plastic is light, but is rigid enough to keep most predators out of the coop.
Before you start, ensure the opening in the coop is smaller than the door size. The door slides in two rails, on the left and the right, and you want to ensure you have some wood to attach them to.
Step-by-step Instructions
Time needed: 1 hour and 30 minutes
Follow these steps to install any of the ChickenGuard automatic chicken coop doors.
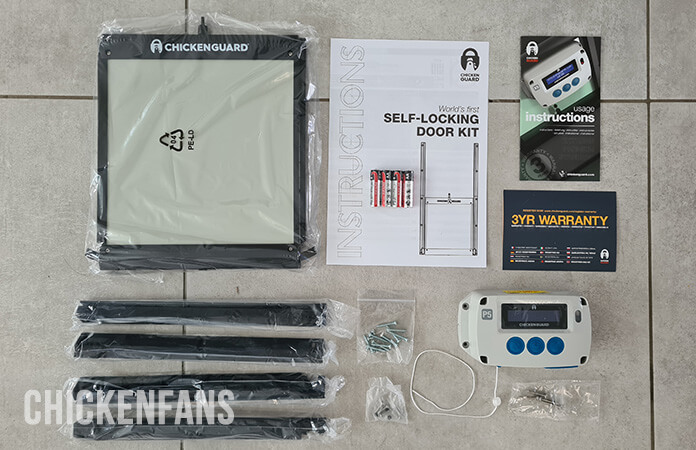
- Unpack the Box
Unpack the box and put aside the front of the door and the motor, as you won’t need them for a while. At the bottom of the box, there are four parts of the guiding rails that go on the side of the door.
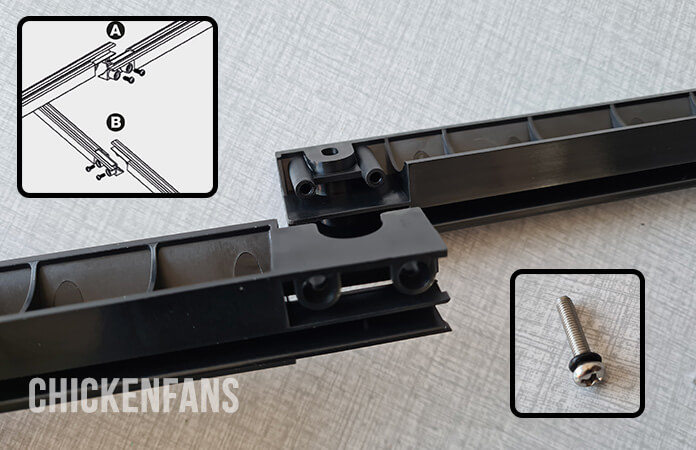
- Attach the Guiding Rails
Attach the guiding rails to each other so you end up with two runners. First, slide the pieces over each other and then use the screws to tighten them. The screws in the box have rubbers to prevent any water from crippling in.
- Install the Left Rail
First, you attach the left rail to the chicken coop next to the opening. Before you start screwing, ensure the coop’s doorway matches the door size. There isn’t much wiggle room afterward. The easiest is to have a relatively small opening in the coop, as the door isn’t that wide and doesn’t open that far.
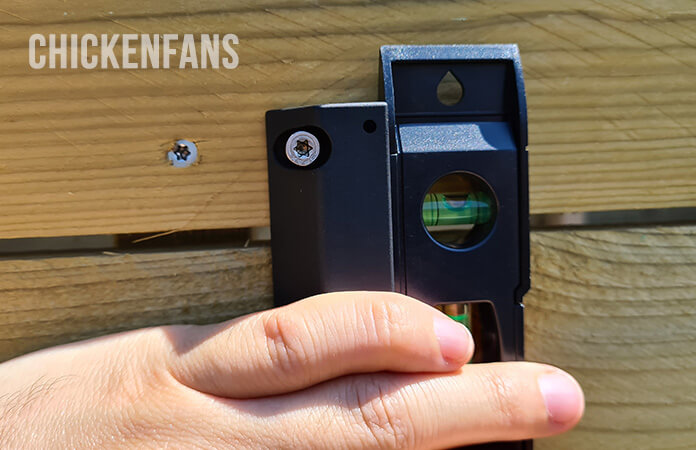
The left runner must hang straight and level. Use a large spirit level to get the entire rail as straight as possible. Use screws that can resist rainy weather if you don’t use the screws out of the box. The screws we use here are stainless screws that are a little bigger than the ones that come in the box. - Install the Right Rail
To align the right rail, take the actual door and place it on the bottom. Lock it in place so you can put the second rail at the exact distance it needs to be. It’s easier not to do it alone and ask somebody to hold it for you.
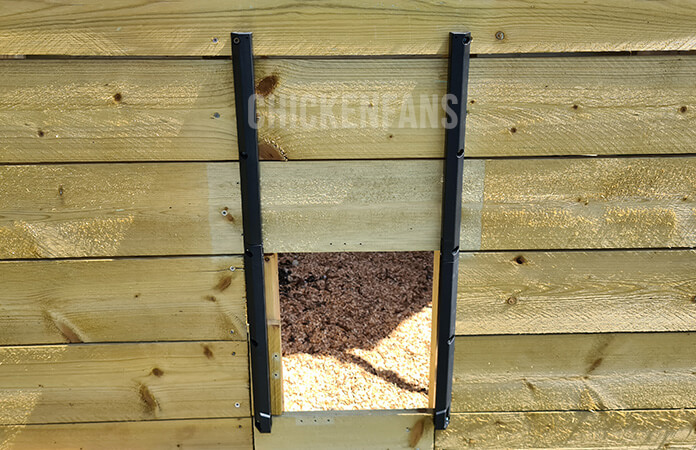
Leave a little wiggle room, so the chicken coop door can freely move between the rails. The underlying wood lives and changes shape with temperatures outside, and you don’t want to get your door stuck when winter falls. - Insert the Door
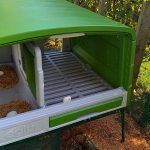
With the rails in place, you can install the door in between the rails. It should fit nicely.
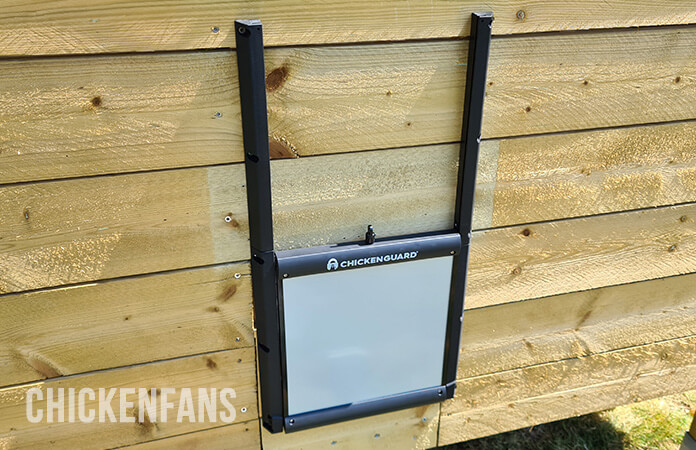
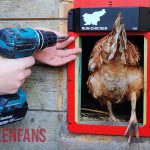
- Attach the Motor Unit
When the door is installed, you can attach the motor unit above the door. Attach the cord from the unit to the top of the door.
Align the motor unit so that the cord falls straight. You can not centrally align the motor unit and the door, the unit needs to sit a little bit to the right of the center of the door.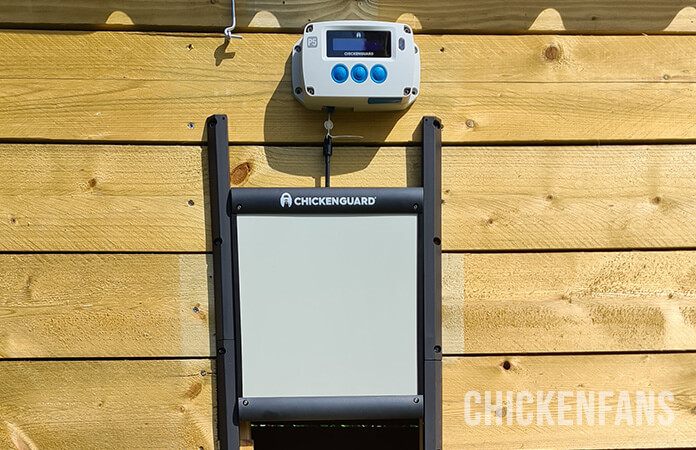
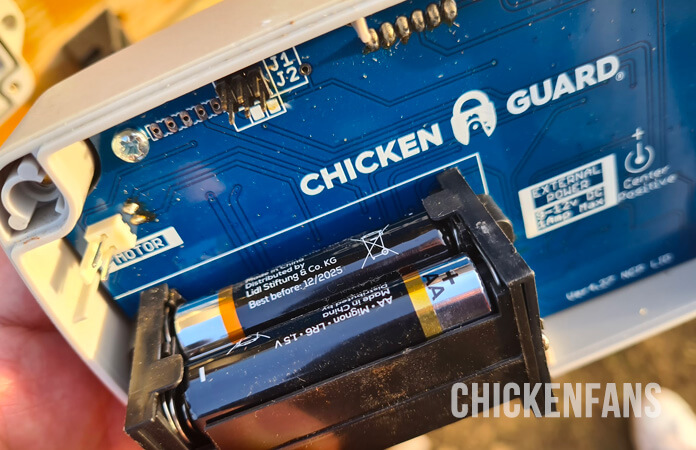
Leave 3 to 4 inches between the motor unit and the top of the door when the door is open. - Install the 4xAA Batteries in the Motor Unit
Install 4 batteries in the unit, with alternating + and – signs. There are batteries included in the box, but don’t be surprised if they run out after three months.
- Connect the Wires of the Motor Unit
The motor unit consists of two parts: the control box and the front panel.
The control box has a black and red wire that you need to connect to prongs on the inside of the front panel.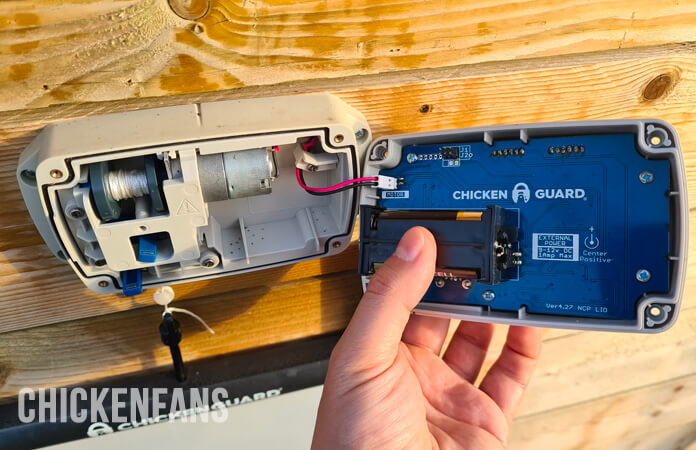
- Mind the Order of the Cables
If you change the order of the cables, the door wil go UP when you press down and visa versa.
Our documentation says we had to put the black cable on top, but that’s not possible with the way the connector is built. It has a plastic pin that fits nicely into the socket, so we had no choice but to put the red cable on top.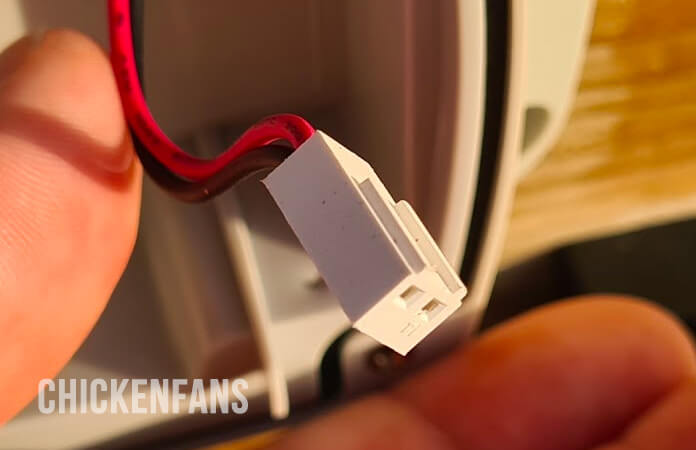
Initially, the door went open when we pushed DOWN, but we were able to fix that after calibration. - Follow the Setup Wizard on the Door Opener
When you screw everything together, the front panel will light up. If you press the middle power button, you enter a menu. The first item is the Setup Wizard, press the power button again to enter the setup and follow the steps.
After you set the time with the up and down arrows, the unit starts the calibration of the door. First set the door in full open position with the up and down arrows. Then push the middle button to store the position. Then use the arrows to put the door in the closed position and make sure the lock wings come out in the side rails. Use the middle power button to store the position again. After that, the door will automatically open again.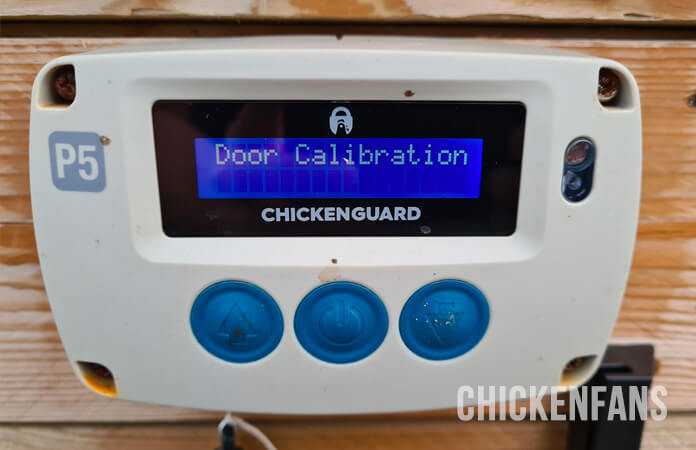
You can then set the light sensors or use the timer to set the opening an closing times of the door. If you mess up these steps, don’t worry, you can get into the menu after the wizard is over to adjust everything you want.
If you have an automatic door with a light sensor, make sure you check that the door is opening correctly the first time in the morning.
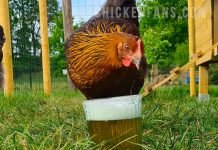
Here is how it looks like when your door is opening automatically and the flock comes out:
In the end it turned out to be a pretty easy set up.
Key learnings:
- it’s much easier to install the right door rail if you are not alone
- the black and red wires will change the UP and DOWN directions when switched
- you need some height above your door to install the motor unit
- the motor unit can not be placed centrally as the cord of the door should line up with the power unit
Now it’s your turn! Check out our Best 5 Automatic Chicken Coop Doors to see all the automatic doors we tested, including Omlet, Run Chicken, and Vevor.
Good luck installing your automatic chicken coop door!


